
Smart EV Chargers Home Assistant intergration
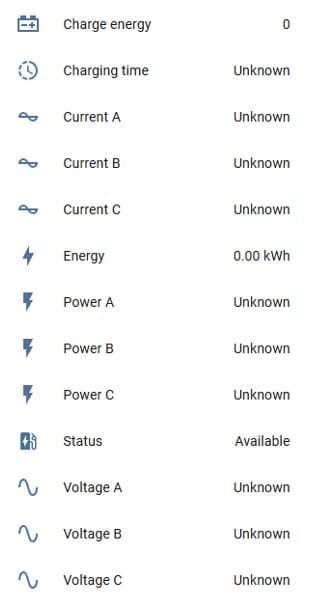
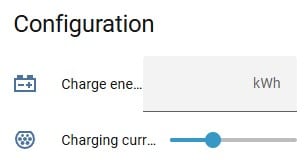
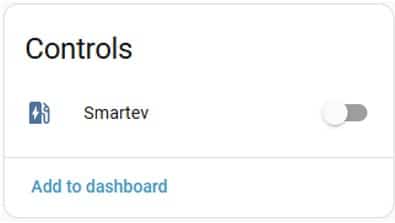
Connect your smart EV charger to Home Assistant for full local control — start and stop charging, adjust the charging current, and monitor live voltage, current and energy data. This is ideal for building your own automations.
What you’ll need
- Your charger already paired with the Tuya / Smart Life app
- A working Home Assistant installation on the same network as the charger
Setup instructions
Install HACS
Install the HACS (Home Assistant Community Store) plugin for Home Assistant. Full instructions are available at hacs.xyz/docs/use.
Install the Tuya Local plugin
Via HACS, search for and install the Tuya Local plugin, then restart Home Assistant if prompted.
Add the Charger integration
Go to Settings → Devices & Services, click + Add Integration at the bottom right of the screen, and type Tuya Local in the search box.
Select SmartLife cloud assisted device setup with fresh login.
Home Assistant will ask for your Tuya login code. To find it in the Tuya app:
- Tap Me (bottom right)
- Tap the gear icon (top right)
- Tap Account and Security
- Your User Code is near the bottom of the screen
Enter this code into the box in Home Assistant and click Submit.
Scan the QR code
A QR code will appear on the Home Assistant screen. From the main screen of the Tuya app, tap the scan icon at the top right, scan the QR code, then tap Confirm Login.
Back in Home Assistant, click Submit under the QR code.
Select the charger from the drop-down menu. For the gateway, choose None, then click Next.
Home Assistant will automatically find the charger’s Device ID, IP address and Local Key. For the protocol version, select 3.4 and click Submit.
For Device Type, select Ecopoint EV Charger if it wasn’t selected automatically.
Pick an easy name to remember, such as smartev. The charger will then load into Home Assistant.
What you can do
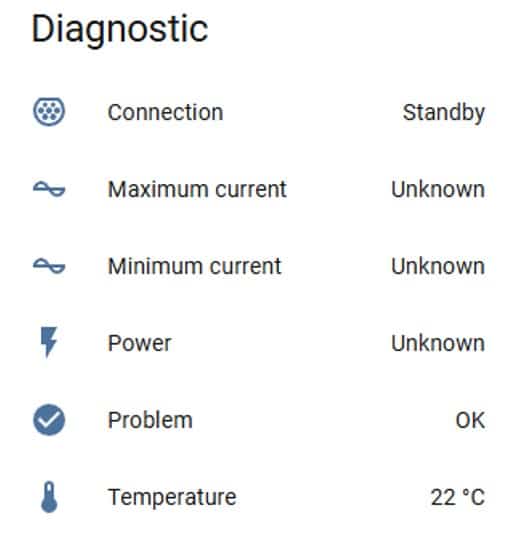
Change modes: Change between Manual/Eco mode.
This guide is for the following chargers
Smart EV Charger 7.4kW with Cable or socket. Tron 22kW
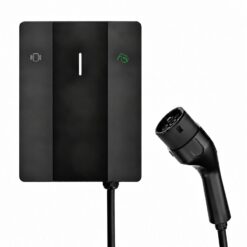
Wall mount EV chargers
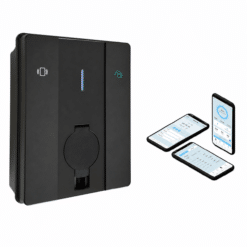
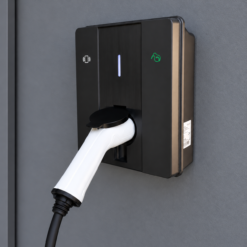
Wall mount EV chargers
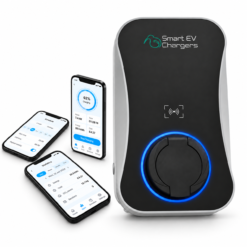
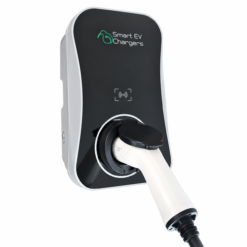
Wall mount EV chargers